Add and edit products
Create a product with its price, category, VAT rate, photo and prep station, change it later, and take it off sale or delete it.
On this page
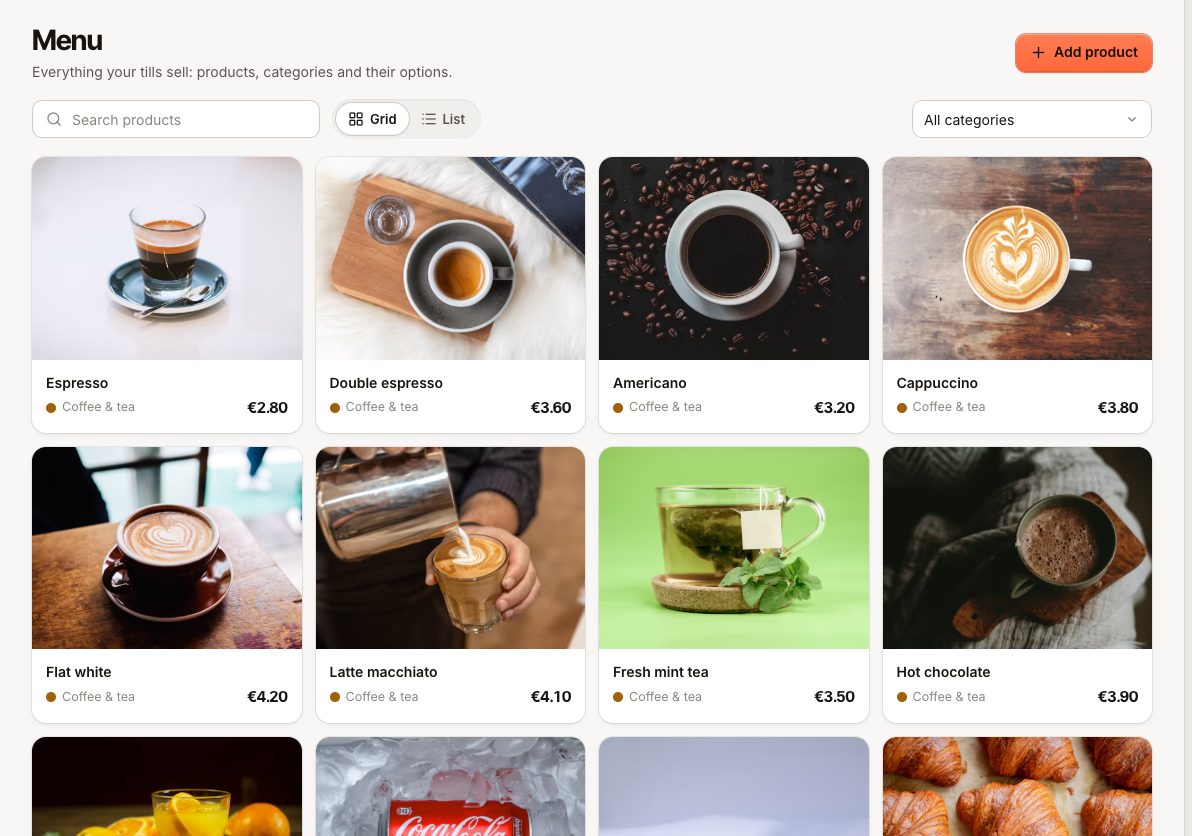
Products are what your tills sell. One product list serves every location, the POS, the QR menu and online ordering, so a change you make here shows up everywhere at once. Prices on orders that are already open or paid do not change.
Before you start
- You need the Manage menu permission to add and edit products. Staff with only Change prices can change the price of an existing product and the price differences of its variants, but not add, remove, rename or reorder variants.
- Uploading a photo needs the Organization settings permission. The Owner role has it.
- It helps to set up your VAT rates, categories and prep stations first, but you can also create them from inside the product form.
Add a product
- In the back office, go to Menu and select Add product.
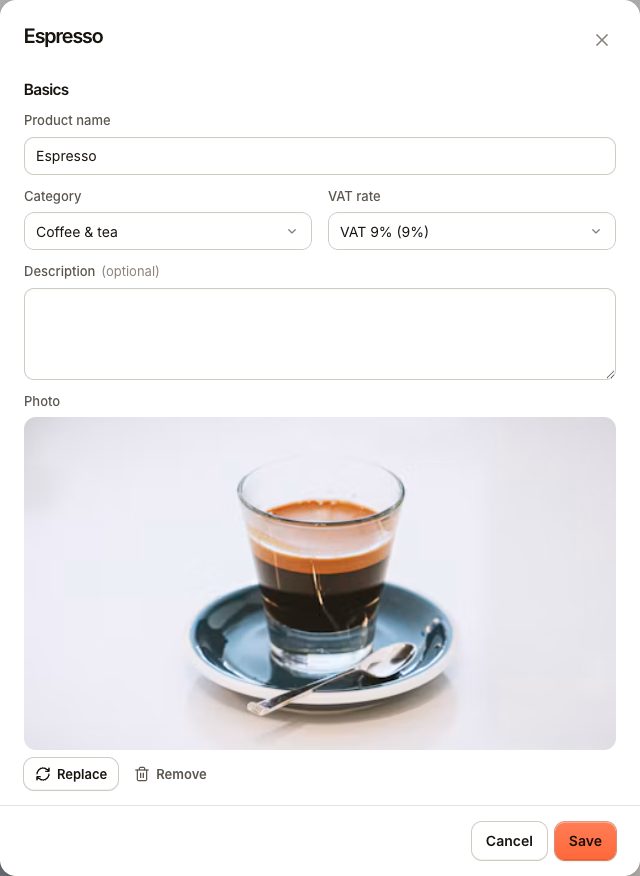
- Under Basics, enter the Product name.
- Choose a Category. This decides which button the product sits under on the till and on guest menus.
- Choose a VAT rate. If you leave it on Default, the product gets your default rate.
- Add a Description if you want one, and a Photo.
- Under Price & variants, enter the Price. Add variants such as sizes if the product has them (see variants and add-ons).
- Under Add-ons, pick the add-on groups staff should be asked for, such as milk or sauce.
- Under Availability, choose the Prep station that receives the order ticket for this product.
- Open Codes to add a SKU or Barcode if you use them.
- Select Save.
Photos
A photo is shown on the POS tiles, the QR menu and online ordering. Square photos work best. Use a JPEG, PNG or WebP image of up to 10 MB. If the upload is refused, the message tells you why:
| Message | What to do |
|---|---|
MEDIA_TOO_LARGE | Make the image smaller than 10 MB. |
MEDIA_TYPE_UNSUPPORTED | Save it as JPEG, PNG or WebP. |
MEDIA_LIMIT | You have reached the maximum number of images. Remove unused ones first. |
MEDIA_IN_MENU | You tried to delete an image a product or category still uses. Remove it there first. |
Barcodes
When a product has a barcode, scanning it or typing the code on the POS adds the product to the order at once.
Change a product
- Go to Menu and select the product. Switch between Grid and List if that makes it easier to find, or use Search products.
- Change what you need and select Save.
Changes reach the tills straight away. Lines already on an order keep the name and price they had when they were added: order lines are frozen at the moment of sale.
A new prep station only applies to items added after you save. Items already sent stay at the station they were sent to.
Take a product off sale
Turn off On sale under Availability and save. The product is hidden on the POS and can no longer be ordered, but it stays in your menu, reports and order history. Turn it back on whenever you want to sell it again.
If you only ran out for today, don't use this switch. Mark the product sold out from the prep station screen instead, so it comes back by itself. See A product is missing or sold out.
Delete a product
- Open the product.
- Under Delete product, select Delete and confirm.
A product that has never been sold is deleted. A product that has been sold is taken off sale instead, so past orders and reports keep their history. You can find it in the menu list and turn On sale back on later.
How it shows up
- POS: the product appears under its category and on any sale screen layout page that includes it. A product with variants or add-on groups opens its options when tapped.
- Guest menus: QR and online menus show the product with its photo and description if its category is shown on that channel.
- Kitchen: the ticket goes to the product's prep station. With no station, the item has no screen to go to and can only print on the general kitchen printer.
- Reports: sales are reported per product in Reports › Products.
Common questions
Can a product have a different price at another location?
Only on the Business plan, with Central management turned on. See Different prices per location.
Can I add allergens or nutrition information?
Not as separate fields. You can mention them in the product description.
Why can't I upload a photo?
The photo field is greyed out unless you have the Organization settings permission. Ask the owner to upload it.
If something goes wrong
- The product does not appear on the POS: check that On sale is on and that it has not been marked sold out. See A product is missing or sold out.
- The kitchen does not get the item: check its Prep station. See An order did not reach the kitchen.
- The price looks wrong at the till: check for a running promotion or a location price, and whether the VAT rate adds VAT on top of the price (VAT rates).