Set up your business for the first sale
The order to set things up in, from a new account to a first test sale: business details, location, menu, tax, staff, devices and card payments.
On this page
A new account needs a handful of things before the till can sell: a location, a menu with tax rates, a PIN for each person, a paired device and, if you take cards, Verimly Payments with a card reader. This guide walks through them in the order that avoids going back and forth. Most steps take a few minutes each.
Before you start
- You need to be the owner, or have the Organization settings permission. Staff, devices and payments each have their own permission; the owner has all of them.
- Have your legal name, VAT number and company registration number to hand, plus the full street address of each venue. The address is needed later to register a card reader.
- Install the Verimly POS app on an iPad, iPhone or Android tablet or phone. There is no web version of the POS.
1. Create the business
When you sign up, a short wizard asks:
- What kind of business are you setting up? Café, bar, restaurant, quick service, bakery or food truck. Verimly turns on the features that fit and picks the POS home screen (floor plan, quick sale or bar tabs). Choose Something else to start with the basics.
- How big is your business? The number of locations and roughly how many tills and preparation station screens you need, so the right plan can be suggested.
- What do you want to do with Verimly? The features to start with, ticked to fit your business type. Change them any time under Settings › Features.
- Tell us about your business and Where is your first location? Business name, country, legal name, VAT number, company registration number and the first location's name, code and address. The country sets the currency, the time zone and a starting set of VAT rates.
- Choose your plan: Starter, Pro or Business. Every plan is billed per location, and the free trial runs on the plan you pick.
- Start your free trial: add a card or choose Skip for now. Nothing is charged during the trial, but add a card under Settings › Plan & billing before it ends to keep using Verimly.
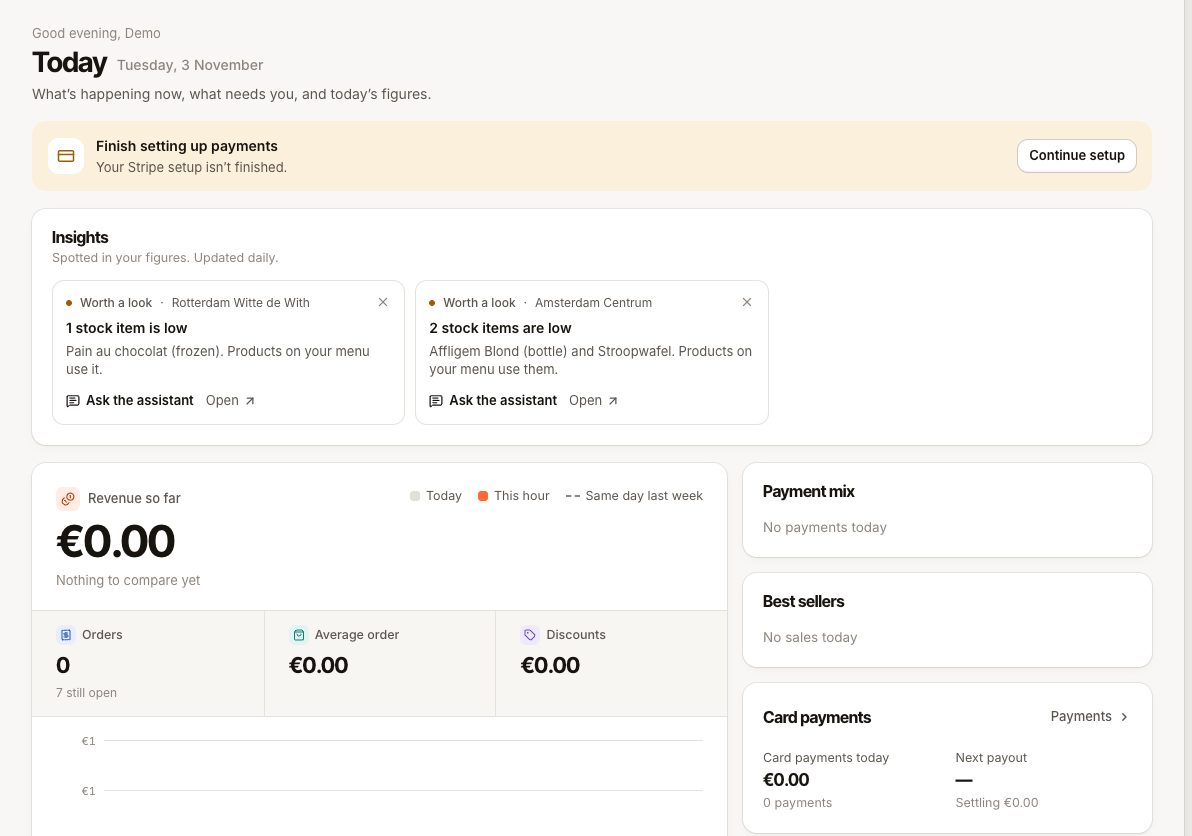
After the wizard you land on Today, which shows the Get ready for your first sale checklist. It tracks five steps: Add your menu, Set your POS PIN, Pair a POS device, Open the register and make a sale and Take card payments. Ticks appear by themselves as you finish each step.
2. Check the business details
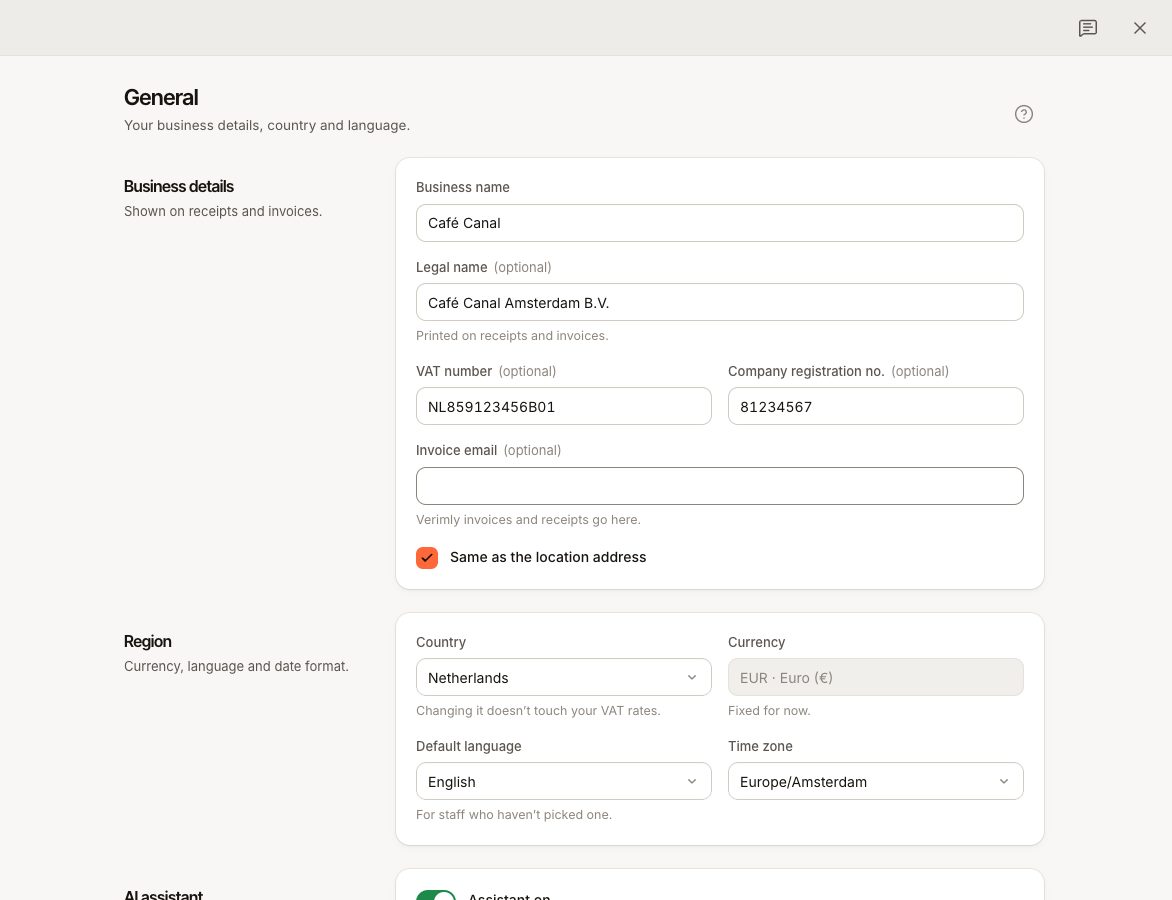
Go to Settings › General and check:
- Business details: your business and legal name, VAT number and Company registration no.
- Region: changing it doesn't change your VAT rates.
- Currency: euro. It can't be changed.
- Default language: the language for staff who haven't picked one, and the language receipts print in.
- Time zone: the business default. Each location can have its own.
See Language, currency and time zone for how these differ.
3. Check your location
Go to Settings › Locations and open the location the wizard created. Fill in the full address (street, postal code and city), and under More options check the Time zone and Business day ends at. The cut-off decides which day late sales count towards. Details are in Work with locations and When does the business day end?.
4. Add tax rates and your menu
- Go to Settings › Taxes. If no rates are listed yet, add your country's set with one click (the button names your country and its rates). Check which rate is marked Default. See Tax rates.
- Go to Menu and add your products with a price, category and tax rate. Use Add-ons for options like milk or size. See Add a product and Options and variants.
- Using a kitchen or bar screen or printer? Create your prep stations under Settings › Prep stations and link products to them. See Prep stations.
- Optionally arrange the sale screen under Menu › Arrange POS screen. See Arrange the POS screen.
5. Add your staff and PINs
- On the Today checklist, choose Set PIN under Set your POS PIN and enter six digits twice. You use this PIN to sign in on the POS yourself.
- Go to Staff and choose Add staff member for each person. Give them a role, the locations they work at and a six-digit PIN. Staff can only sign in at locations they are assigned to.
- Check what each role may do under Staff › Roles & permissions. See Add staff and give them a PIN and Roles and permissions.
6. Pair your devices
- Go to Settings › Devices and choose Add device.
- Pick the type: Till (takes payments) for the counter, Waiter device (orders only) for handhelds, or a screen. See Which device type do I need?.
- Give it a name, choose the location and choose Get pairing code.
- On the tablet, open Verimly POS, tap Pair this device and enter the six-character code within 15 minutes.
The full steps, including kitchen screens and customer displays, are in Pair a device. Printers are added from the till itself afterwards: see Add a printer.
7. Set up card payments
- Go to Settings › Card payments and follow the setup to activate Verimly Payments. Verification can take a moment; the status shows on the same page. See Set up Verimly Payments.
- Once payments are active, open your location and choose Register reader. See Register a card reader.
- Pick how guests are asked for a tip under the location's payment settings. See Card tips.
You can skip this step if you only take cash for now. Cash and card can be set up in either order.
8. Make a test sale
- On the till, sign in with your PIN.
- Open the till: enter the cash you start with as Starting cash (or use Open the day if you don't use numbered drawers). See Open the till.
- Add a product and take payment in cash. If a printer is set up, check the receipt.
- If you set up a card reader, take a small card payment and refund it from the order. Verimly's €0.05 fee per card payment isn't refunded.
- Check that the order appears under Orders in the back office.
When the test sale is done, the checklist on Today is complete. Before your first real service, run through the go-live checklist.
Common questions
Can I change the business type later?
The type only decides which features start switched on. Turn features on or off any time under Settings › Features. See Turn features on and off.
Do I have to finish everything in one go?
No. Each step saves on its own, and the checklist on Today shows what's left. You can hide the checklist with Hide.
Can I add more locations?
Yes, on every plan. Each open location is billed. See Work with locations.
If something goes wrong
- The pairing code doesn't work: it is valid for 15 minutes and works once. Generate a new one. See Pair a device.
- A staff member's PIN is refused at one location: they aren't assigned to it. Add the location on their staff profile.
- A feature or screen is missing: it may be off or not in your plan. See Turn features on and off.
- The card reader can't be registered: the location needs a full address. See Register a card reader.